Using checkbox in a canvas apps gallery

This article illustrates about using the checkbox inside a gallery in canvas apps

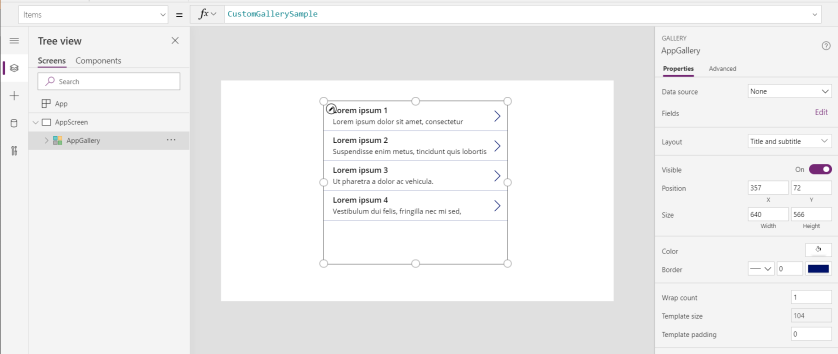
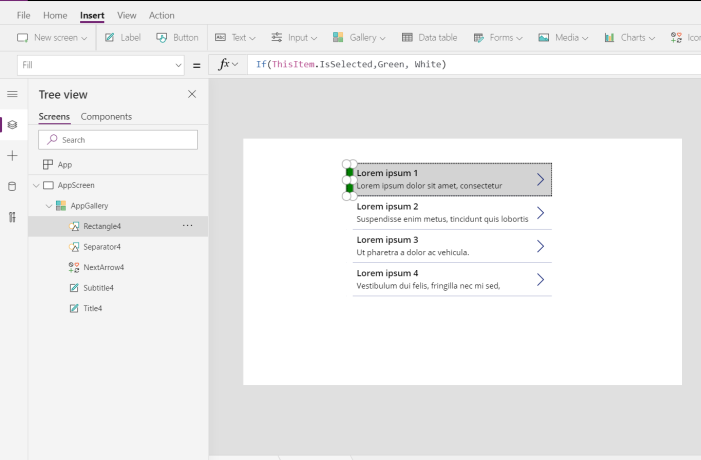
Step 1: Create a gallery and set the properties of the gallery as below:

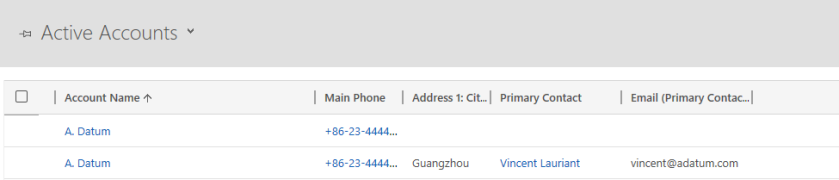
Data source : Contacts
Layout: Title
Clear the default value in the title
GalleryProperty

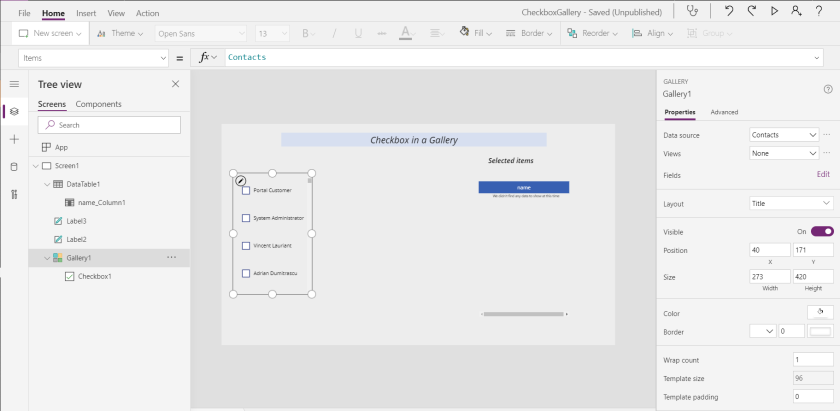
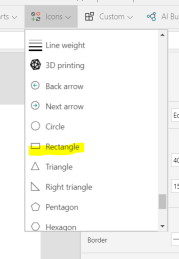
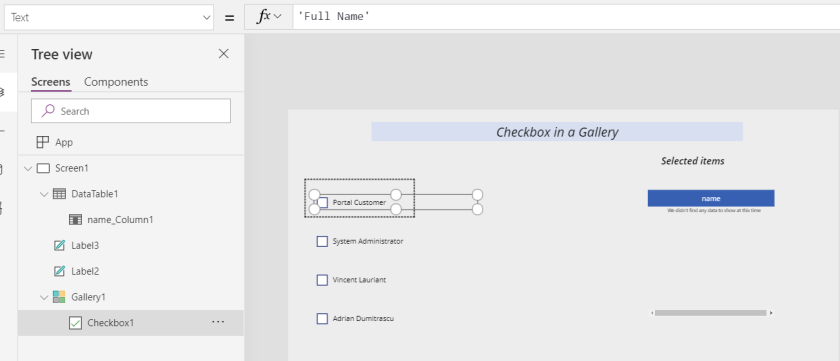
Step 2: Add checkbox from the input options inside the gallery and set the “Text Property” of the checkbox to ‘Full Name’ from the Contact.
Now this will display the Contact’s Full Name next to the check box

checkbox

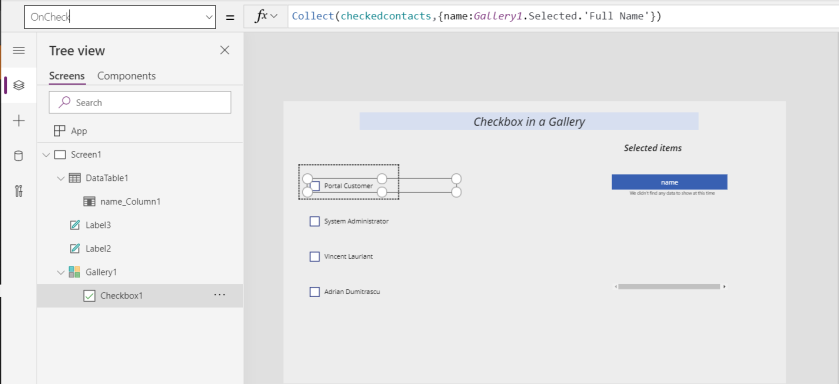
Step 3: Add the checked items in the gallery to a collection
This is done by setting the “OnCheck” property to “Collect(checkedcontacts,{name:Gallery1.Selected.’Full Name’})

checkedcollection

Step 4: Remove the items from the collection when the item in gallery is Unchecked
This is done by setting “OnUncheck” property to :
Remove(checkedcontacts,First(Filter(checkedcontacts,name = ThisItem.’Full Name’)),All)

Uncheck

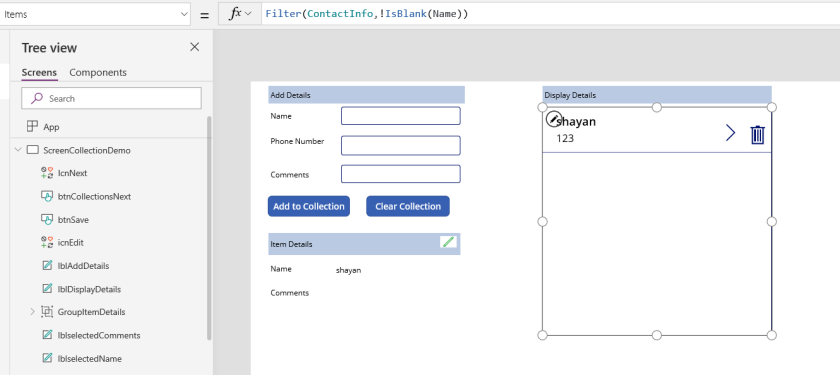
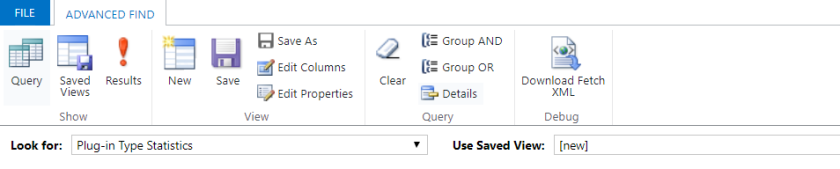
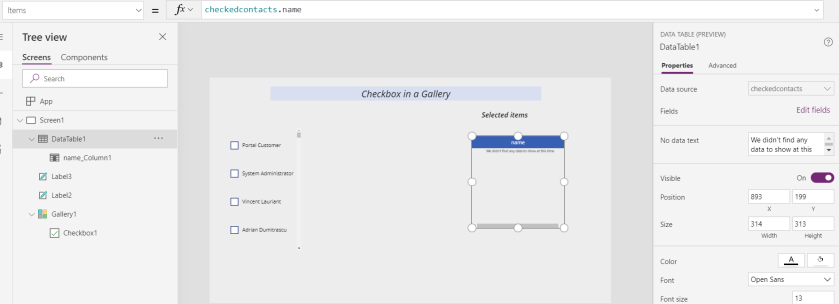
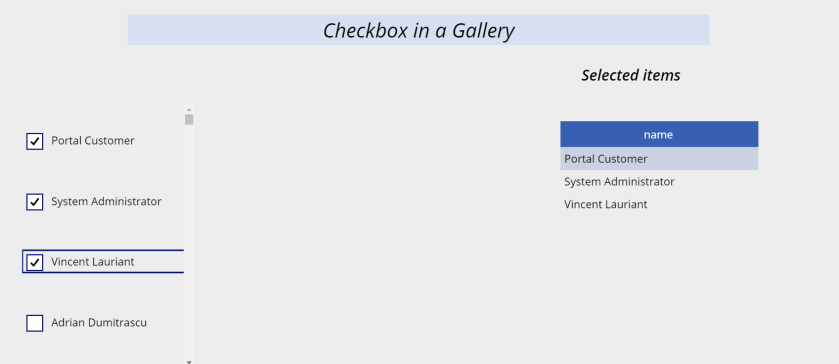
Step 5: To test this, add a data table and set the items property as in the Image below.

Datatable

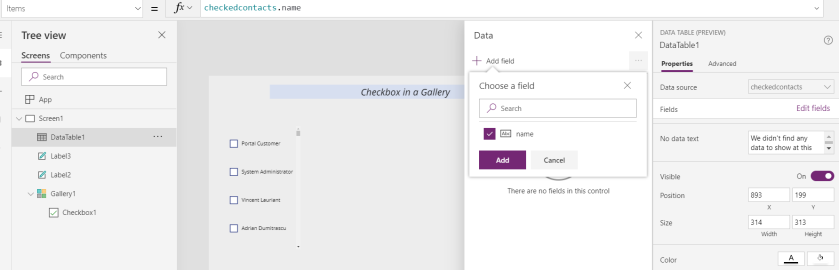
Step 6: Go to the fields property of the data table click edit and chose the field as below

DataField


Step 7: Play the app and test it by checking and unchecking the checkbox in a gallery and view the corresponding data in the data table

TestCheck


Thanks,
Shayan


Setting From and To fields for activities in CDS Current Environment

I happened to face an issue(if i can call this as an issue) while trying to create an activity record using CDS (current environment) trigger with create action, where the option to set From and To fields were unable to get the dynamic values.

FromFieldinCds__01

After going through this Microsoft document (ActivityParty entity) , was able to resolve it by entering custom value.

Click on the icon ( switch to input entire array) to the right corner of create action and you can see the participationtypemask set to custom value.

participationtypemask__01

Below is the result of the flow execution

successflowrun

Below are the results from D365

LettergeneratedinCDS

LetterRecord__01

Hope this helps!


Thanks!
Shayan

Dependent dropdowns in Canvas Apps : Sorting, Lookup and Filter

Introduction:
Drop down is one of the commonly used input types in canvas app development.
This article illustrates the use of sorting, lookup and filter in case of using cascading dropdowns.

Scenario:
Consider two entities in the CDS, which is country and state with a 1:N relationship between them. The state dropdown should display relevant states based on the selected country from the country dropdown.

Data:
Countries :
India, Turkey and UK
States:
Karnataka, Delhi and Kerala (country:India)
Antalya, Istanbul and Cappadocia (country:Turkey)
Bristol, Manchester and Liverpool (country:UK)

Canvas Apps:
Let us add 3 dropdown inputs in the canvas app and see how to achieve this scenario.

Dropdown1

Country dropdown will be used to display country information and data source will be country entity in CDS.
Set the formula for the items property as : Sort(Distinct(Countries,Name),Result)
This formula will fetch the distinct countries based on the name and sort the result alphabetically

State dropdown with filters will be used to display the state information and data source will be state entity in CDS.
Set the formula for the items property as:
SortByColumns(Filter(States,Country.Name=dd_Country.SelectedText.Value),”new_name”)
This formula will filter the states based on the country dropdown selected value and sorts the result by the state name alphabetically. 

dropdown3filterdropdown2

State dropdown 2 uses the lookup function to lookup the country that is selected in the country drop down and then displays the state results for that country, here there results are not filtered and displayed in the order the are returned.
Set the formula for the items property as:
LookUp(Countries,Name=dd_Country.Selected.Result).States.Name
This formula will lookup to countries in the cds based on the country drop down selected result and then displays the states for the selected country

dropdown3nofilter


Thanks,
Shayan


Using IsBlank with Gallery Items to hide empty records

This post details about the use of Isblank function in power apps.

Scenario : A power apps user enters details such as name, phone and comments and adds them to a collection say “ContactInfo”.
The items from the collection is then displayed in the gallery.

Lets take a look at the below screen displaying records in a gallery where title is set to name and subtitle is set to phone.

galleryItemswithoutIsblank

Problem : The user can leave the name field as empty resulting the collection to not have any name, hence the gallery displays records with out name. This is because the items property of the gallery is simply set to the collection “ContactInfo”

Itemsinfo1


Requirement : The gallery should be filtered such that it displays only items that has name

Solution : Filter + IsBlank

The IsBlank function tests for a blank value or an empty string, whose result can be used to filter the items property of the gallery, in our case we need to check if there is a name in the collection”ContactInfo”, if yes then display the collection items in the gallery, otherwise do not display.

Notice after the Items property is set with the below function  the gallery will only display records which has a value for the name.
Filter(ContactInfo, !IsBlank(Name));

ItemsIsblank


Thanks,
Shayan


Highlighting the selected gallery item in Power Apps

This post details on highlighting the selected items in a Power Apps gallery.

Here are the steps to achieve this.
Step 1 : Go to make.powerapps.com
Select Apps and click New app and select Canvas

Step 2 : Choose the blank canvas, tablet layout from the template; this action will redirect to the Power Apps Studio

Step 3 : Click on the Insert action from the ribbon, select gallery with vertical layout and set the Items property of the gallery to ‘CustomGallerySample’ and in the layout select Title and subtitle.

sampleGallery

Step 4 : Select the gallery from the left hand pane and choose to click on the ‘Icons’ from the top command bar & select rectangle from the icons option.

addicons

Step 5 : After step 4 align the rectangle to the left corner of the gallery which should look similar to below image

galleryaftericon

Step 6 : Select the gallery and look for the ‘Template Fill’ property and in the formula bar enter ->   If(ThisItem.IsSelected, Color.LightGray, Color.White) and save.

gallerytemplatefill

Step 7 : Select the rectangle icon inside the gallery and look for the ‘Fill’ property and in the formula bar enter -> If(ThisItem.IsSelected, Color.Green, Color.White) and save.

Rectanglefill

Step 8: Save the App and click Play and see the selected items getting highlighted in action

highlighteditem

Thanks,
Shayan


Get the plugin/workflow execution time using plug-in type statistics in Dynamics 365

Often times it is required to know some of the key information related to the execution of a plugin or a workflow. This information is vital when analysing the performance of a plugin or a workflow.

A plugin could be taking more time to execute or may have been crashing or might have failed.

This information for sandbox plugins can be seen in the application  by querying the
“Plug-in type statistics” using the advanced find.

We can get the approx execution time of a plugin/workflow based on the average execution time/ execution count, it also gives information on the execution count, failure count, failure percentage and number of times crashed.

plugin type statisticstemplugin type statistics details


Configure Auto number in Dynamics 365

Creating auto number for an entity is one of the common requirements that dynamics crm/ 365 developers come across. Although Dynamics 365 provides the OOB feature for about 9 entities but it can not be extended for custom entities or other OOB entities.

This requires developers to develop a custom solution or to use utilities for configuring auto number.
There are multiple ways to achieve this, however in this article i would like to stress upon the new feature that is available with the Dynamics 365 for Customer Engagement apps version 9.0 release.
There is a autonumber attribute one can create for any entity, however it can be created/updated programmatically only as of now.
One of the common problems around this solution to us as-is, it requires a developer to often make the changes to the autonumber format or reset the seed value.
The below solution explains how this can be extended so that maintainability becomes easier and developer independant.

We created a custom entity for configuring the auto numbering feature and implemented a plugin that creates autonumber attribute on the entity.

The custom entity requires you to enter a name for the rule, then entity schema name, autonumber format, attribute schema name(this is the autonumber attribute that creates in the background) and seed is optional which is required to set/reset the autonumbering sequencing.

I have implemented a plugin on this ‘configuration entity’ both on Create and update message. I have used xtk for generating baseplugin class.

Refer :create-auto-number-attributes   for the plugin logic.

Note: register the plugin on post create and post update to run asynchronously.
Create an Image on the update step as well.


Duplicate Detection Rule vs Alternate Key in Dynamics 365.

There are situations where a same record exists multiple times causing duplicate records. One of the common things that’s used to handle the creation of duplicate records is Duplicate detection rule.

Lets create a duplicate detection rule and see how it works.

Navigate to the  Settings > Data Management

Data settings-1.PNG
Click on the Duplicate Detection Settings to enable when the rule should fire.

settings-2

After enabling click on the Duplicate Detection Rules.

Modified one of the existing rules to match Main Phone and Account Name.

Rule -3

Save and publish the rule.

Now go to the account and add a new account with existing name and phone and you should see a below message with a warning -Duplicates Detected.
DD-4

However, This will not entirely prevent you from adding the record, user can still go and click on the save and add the record. This now adds a record with duplicates[see below image]

dup - 5

By default when an entity is created you will see a primary field ‘name’ getting created , behind the scene a GUID is also created which cannot be added to the form. This GUID is a Hidden Field.

Often the default GUID  is not enough for cases like this to prevent duplicates, one of the other approaches would be using “alternate keys”.


Alternate Keys:

Go to the solution under components click on the entities and select the entity that you require and you will find keys and click on it.

key -6

This allows you to select multiple attributes for an entity and create a unique combination key. Note: There can be only 5 keys per entity.

Select below the attributes and save . After saving a key will be created. There is a system job that runs which does the indexing for this key.

key -7

A key is now created . Go to the accounts and create an account with existing Name and phone number and you would notice a business process error, which completely restrict you from creating the record.


Thanks!
Shayan.